Your cart is currently empty.
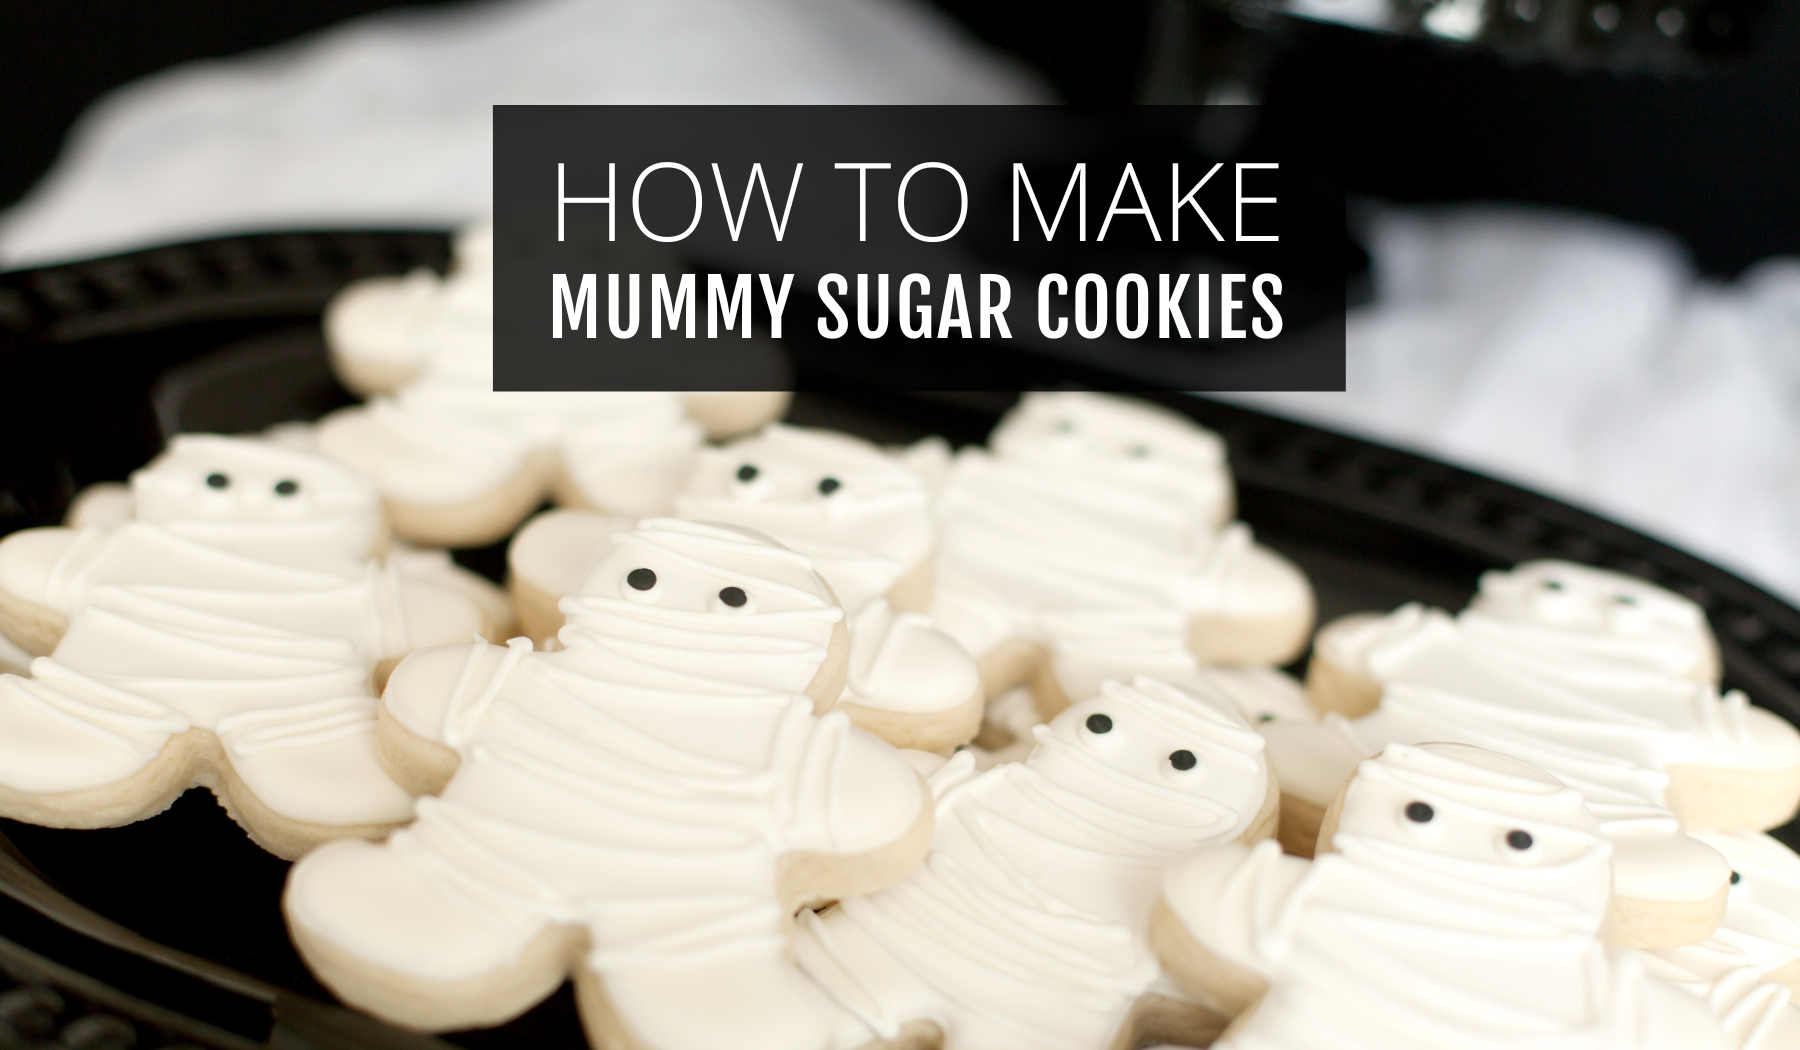

Over the next week, we'll share ALL the spooky details for how to create your very own MUMMY DESSERT TABLE at this year's Halloween party! We're starting with the center piece of every single dessert table we've ever created; hand-decorated sugar cookies. Today, we'll teach you the step-by-step instructions for baking and decorating adorable mummy sugar cookies. They're so cute, it's SCARY!
To get started, you need a batch of our favorite SUGAR COOKIE DOUGH and ROYAL ICING RECIPE.

SUPPLIES
(1) Mummy Cookie Cutter (Gingerbread Man cutter)(1) Coupler
(1) #2 Wilton Tip
(1) Piping Bag filled with white icing (piping consistency)
(1) Plastic Condiment Bottle Filled with white icing (flood consistency)
(1) Black Edible Ink Marker

1. Bake your mummy cookies.

2. Pipe the outline using white piping consistency around the edge of the cookie.

3. Using white flood consistency icing, fill in the shape of the mummy cookie. Be careful not to overflow. If you have any air bubbles you can pop them with a toothpick.

4. Allow flooded cookie to dry for 2-3 hours or overnight before adding the piped final details.

5. Using the white piping consistency icing, add squiggly lines back and forth across the mummy to create his final look. Add two white icing dots for eyes.

6. When the eyes are completely dry, use the black edible marker to add two small black dots.
Allow your final piped mummy details to dry completely (for about 3 hours) before placing them in an airtight container. Cookies kept airtight are good up to 3 weeks, but we're pretty sure they won't last that long!
If you whip up a batch of these adorable Mummy Cookies, be sure to tag us @ellenjaysweets on Instagram.
All the Best,
Lauren, Jennifer & Team ellenJAY

