Your cart is currently empty.
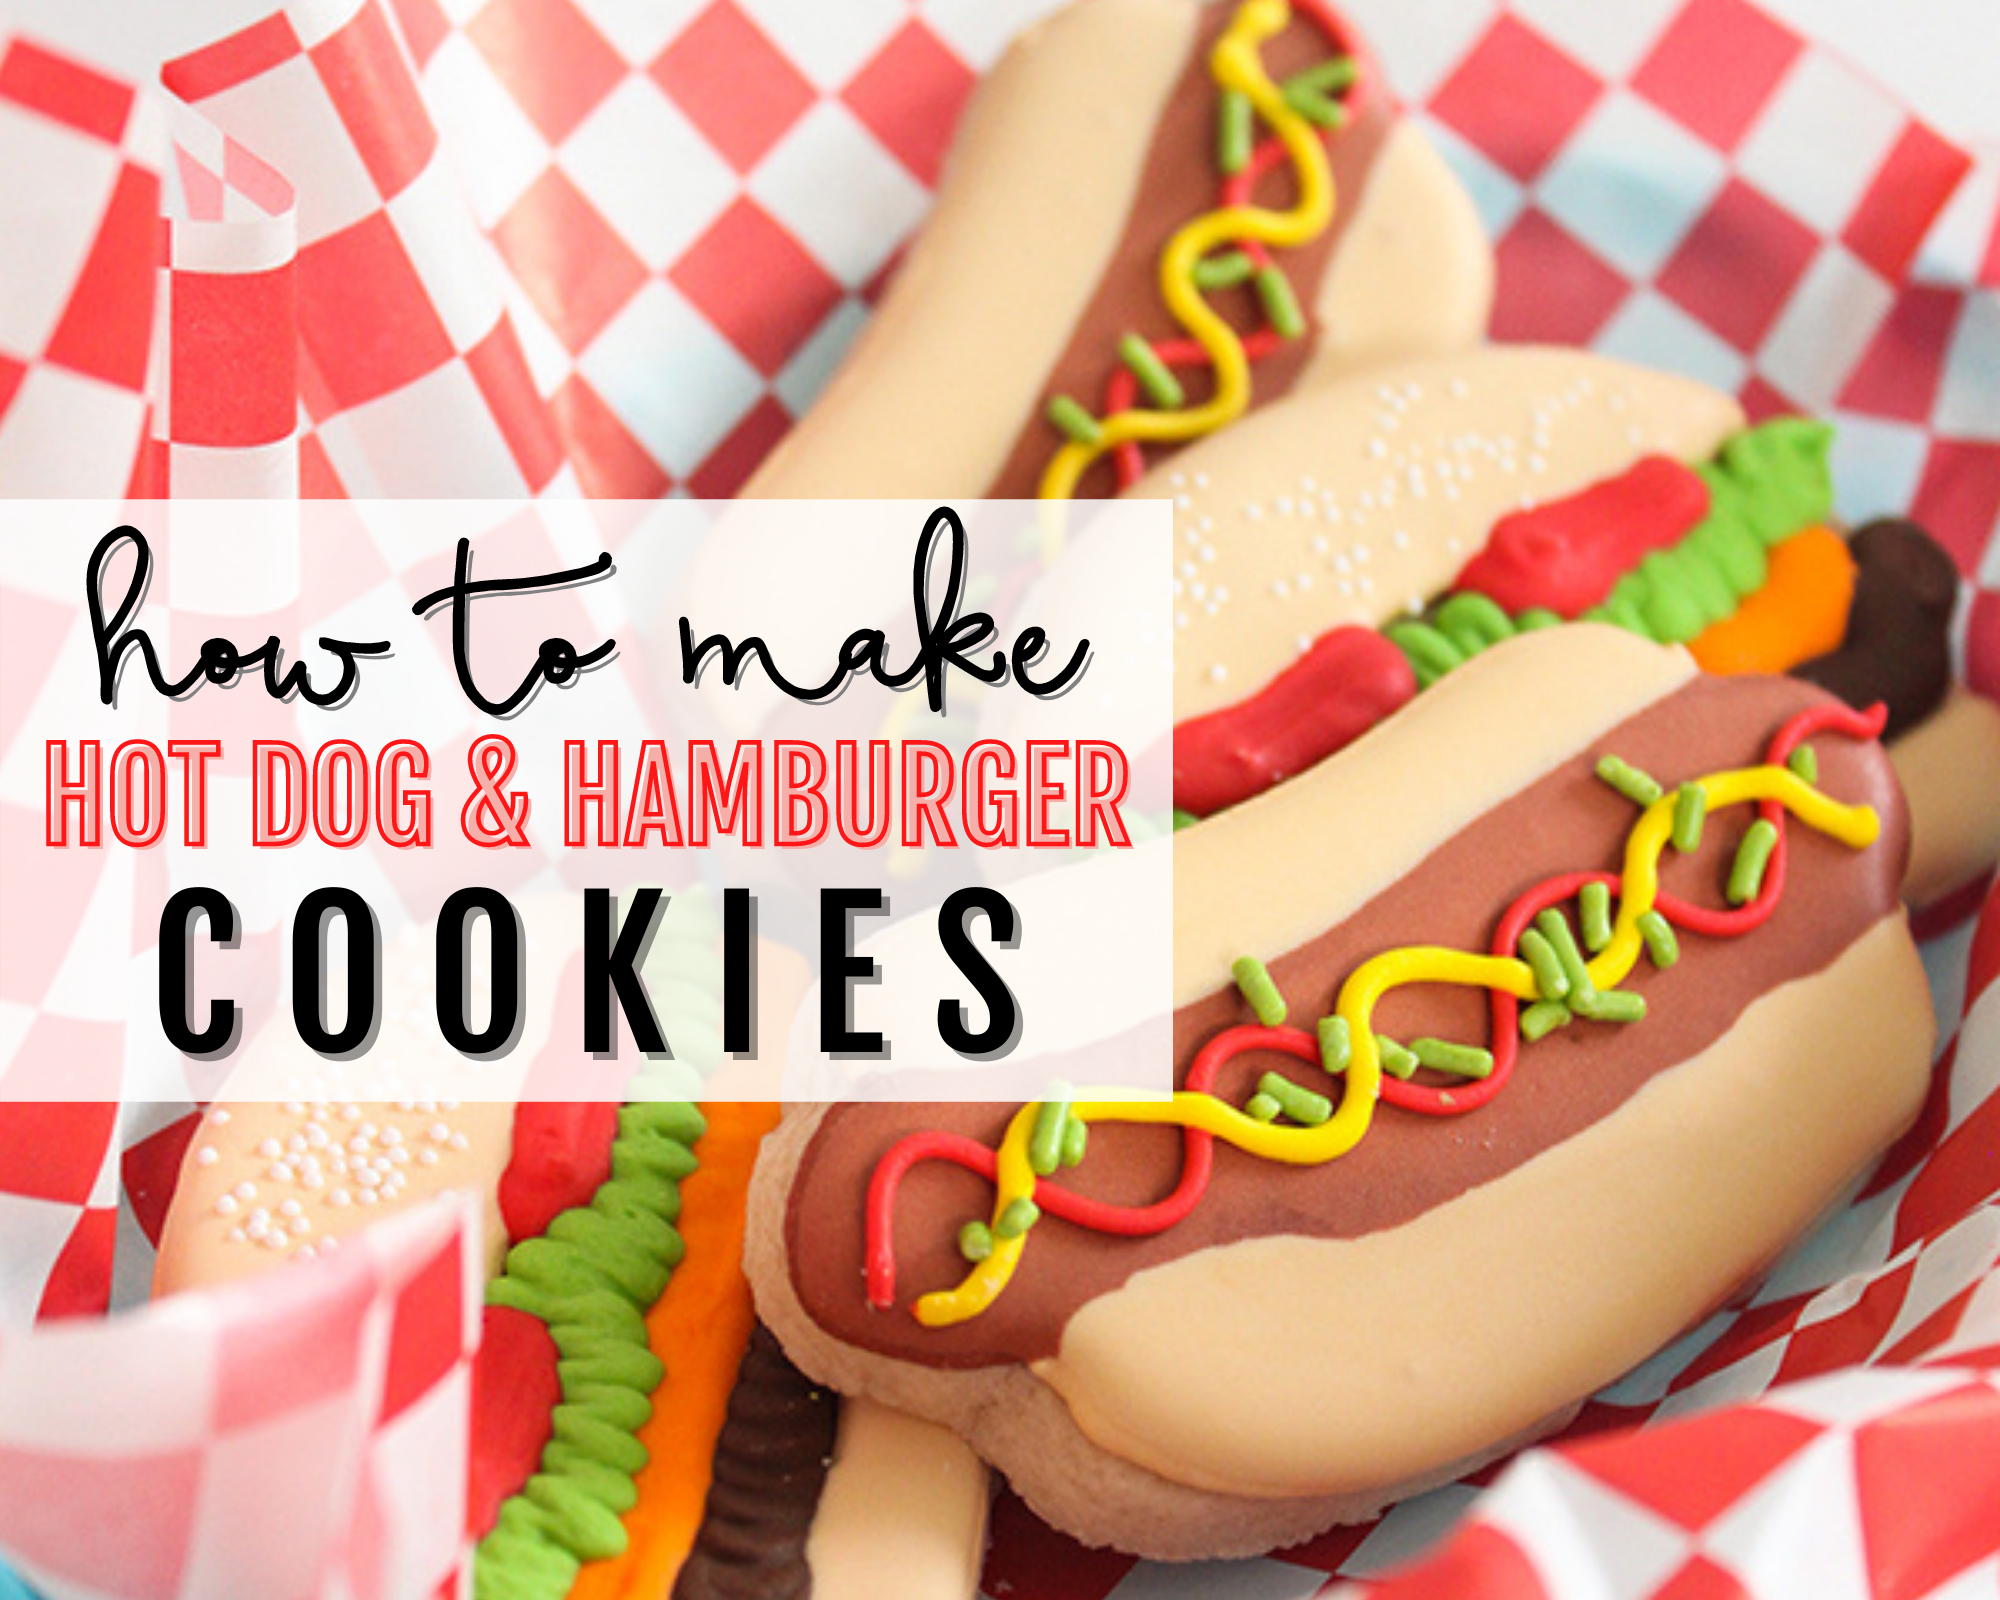
With this steamy summer in full swing, we know you're enjoying the heck outa GRILLING SEASON. Is there anything more satisfying than biting into a plump hot dog or juicy hamburger while hanging out on the back porch with your neighborhood BFFs? It's just soooo good!
Since today actually is National Hot Dog Day, we bet you'll be firing up the grill to cook up some deliciousness all your own. If you're hosting a backyard BBQ for your besties, make the meal even SWEETER by baking up a batch of Hot Dog & Hamburger Cookies.
Our traditional sugar cookies decorated in colorful royal icing will delight everyone who sees them. And, just wait for them to take a bite! Everyone will adore this classic, buttery cookie. It's pretty much the perfect summer treat! Let's start baking!!

SUGAR COOKIE DOUGH INGREDIENTS
3 cups all-purpose flour
2 teaspoons baking powder
1/4 teaspoon salt
1 cup sugar
2 sticks unsalted butter, cold, cut into chunks
1 egg
1 teaspoon vanilla
SUGAR COOKIE DOUGH INSTRUCTIONS
1. Preheat oven to 350 degrees and line baking sheets with parchment paper.
2. In a medium bowl, combine flour, baking powder and salt. Mix well.
In the bowl of a stand mixer, combine sugar and butter and mix on medium speed until well combined.
3. Add egg and vanilla and mix well.
Gradually add flour mixture, scraping sides of bowl as needed until dough comes together.
4. Place wax paper on countertop and lightly flour surface.
5. Take half of the cookie dough and knead together and roll out to about 1/4-inch thickness with rolling pin.
6. Cut out your shapes with cookie cutters and place onto prepared cookie sheet about 1 inch apart.
7. Place unbaked cookies into refrigerator for 20 minutes to chill. This will help the cookies keep their shape when baking.
8. Bake for 10 – 12 minutes.
9. Allow cookies to cool on pans for 5 minutes, then remove to wire racks to continue cooling.

Next, you will need one batch of our favorite Royal Icing recipe.
ROYAL ICING INGREDIENTS
4 cups confectioners’ sugar
1/4 cup meringue powder
1/2 cup water
INSTRUCTIONS
1. In the bowl of a stand mixer, combine confectioners’ sugar and meringue powder and mix on low.
2. Add water and beat on medium speed for 4 minutes until icing is fluffy and stiff peaks form.
3. Place icing in plastic airtight containers until ready to use.

Now that you've baked your cookies and made your royal icing, its time to gather your supplies.
SUPPLIES
- Hamburger Cookie Cutter
- Hot Dog Cookie Cutter
- Rolling Pin
- Cookie Sheets
- Parchment Paper
- Americolor Gel Red
- Americolor Gel Orange
- Americolor Gel Yellow
- Americolor Gel Leaf Green
- Americolor Gel Brown
- Americolor Gel Ivory
- Small mixing bowls (7)
- Spatulas
- Piping Bags (7)
- Couplers (7)
- Piping Tip #2 (4)
- Piping Tip #3 (3)
- 2 Flood Bottles
- Lime Green Jimmies Sprinkles
- White Nonpareils
Did you know that royal icing can be used in a variety of consistencies to achieve the PERFECT look? We'll teach you how to prep your icing to three different thicknesses so you can DAZZLE your friends with your cookie decorating skills.
THREE ROYAL ICING CONSITENCIES
Piping Consistency: stiff icing straight from the mixer, plus a few drops of water to make sure the icing doesn’t crack when piping lines
Medium Consistency: stiff icing plus a few drops of water to soften icing, in between piping and flood consistency but will still hold it’s shaped when piped
Flood Consistency: thin down icing with 1 teaspoon of water at a time, stir icing with small spatula and continue to add a tiny bit of water as necessary to reach desired flooding consistency. When you lift your spatula and the icing drips and falls back into itself after about 10 seconds, it is a good consistency.
Now that you have a basic understanding of how royal icing works, it's time to prep your icing to make the cutest little hotdogs and hamburgers ever!
SEPARATE ICING INTO CONTAINERS
Portion out icing into separate containers, using 1 container for each color. It is best to work with about ¼ to 1 cup of icing at a time depending on how much you need per color. Here’s a breakdown of the colors to guide you.
Buns: 1 cup tinted ivory. Put half into a piping bag fitted with #2 tip and thin the other half until flood consistency and put in flood bottle.
Hotdog: 1/2 cup tinted with red and brown. Put half into a piping bag fitted with a #2 tip and thin the other half until flood consistency and place in flood bottle.
Hamburger Patty: 1/4 cup tinted brown. Thin to medium piping consistency and fill a piping bag fitted with a #3 tip.
Cheese: 1/4 cup tinted with orange and yellow. Thin to medium piping consistency and fill a piping bag fitted with a #3 tip.
Lettuce: 1/4 cup tinted lime green. Thin to medium piping consistency and fill a piping bag fitted with a #3 tip.
Tomatoes and Ketchup: 1/4 cup tinted red. Leave at piping consistency and fill a piping bag fitted with a #2 tip.
Mustard: 1/4 cup tinted yellow. Leave at piping consistency and fill a piping bag fitted with a #2 tip.
HOT DOG SUPPLIES

OK...that was a lot of prep, y'all. Now, for the fun part! Let's decorate these babies!!!

1. Using the red/brown icing, pipe the outline of the hotdog. We’re using piping consistency icing in a pastry bag with a #2 tip.
2. Using the ivory icing, pipe the outline of the bun. Again we’re using piping consistency icing in a pastry bag with a #2 tip.
3. Fill in the bun using the ivory flood icing from the flood bottle.
4. Fill in the hot dog using the red/brown flood icing from the flood bottle.
5. Allow cookies to dry for 4-6 hours or overnight before adding final details. Using the red icing, pipe a squiggle line across the hotdog to look like ketchup. This step uses piping consistency icing with a #2 tip.
6. Using the yellow icing, pipe a squiggle line across the hotdog to look like mustard. This step also uses piping consistency icing with a #2 tip.
7. Sprinkle on lime green jimmies to look like relish. The green jimmies will stick to the mustard and ketchup only since the rest of our hotdog is already dry.
8. Allow icing to dry completely.
HAMBURGER SUPPLIES

Let's get to work on these hamburger cookies!

1. Using ivory icing, pipe outlines of the top and bottom buns. We’re using piping consistency icing in a pastry bag with a #2 tip.
2. Fill in the buns with the ivory flood icing from the flood bottle.
3. Sprinkle on white nonpareils to top of bun for “sesame seeds."
4. Pipe brown in a circular motion for textured hamburger patty. This step uses medium consistency icing with a #3 tip.
5. Pipe orange on top of the hamburger patty to resemble cheese. This step uses medium consistency icing with a #3 tip.
6. Pipe lime green in an up and down motion to create the lettuce. Again we’re using medium consistency icing with a #3 tip.
7. Fill in the remaining spaces with red for tomato slices. Now we’re back to piping consistency icing with a #2 tip.
8. Allow icing to dry completely.
If these were your very first batch of hand-decorated sugar cookies, then you now know why we refer to them as a LABOR OF LOVE! Adorable sugar cookies take a ton of time to prep and decorate, but MAN, they are so much fun!! We hope you enjoy baking and decorating these cookies as much as we do.
If you make these cookies at home, be sure to tag us on Instagram @ellenjaysweets so we can share your works of art with everyone!!
If you have any questions, send us an email to info@ellenjayevents.com
HAPPY BAKING!
Lauren, Jennifer and Team ellenJAY

